Thursday, April 9, 2020

Workspace Plans Reiteration

Workspace Plans Reiteration
Due to some technical difficulties, I began the studio work for Week 8 with pen and paper. I decided to draw a floor plan of my current model which gave me the opportunity to look at realistic layouts- how to fit the bed, desk etc. into the room. I became aware that the amount of free space was fairly limited and so deliberated on how to increase this. I realised I had significantly limited myself through assuming the wardrobe was a fixed element. Despite it being built in, I decided to remove it from its current location and place it in the corner diagonally opposite. This provided me with a broader spectrum to which I could experiment with light. I redrew my floor plan and sections which is what I will use to make my next model. I have annotated the materials I would use in the window area, my threshold between the interior and exterior.


Having a larger window will allow significantly more light in and I hope it will also make the outdoors seem a lot closer. I hope that by having the light filtered on 2 sides and clear glass on the other will allow my threshold to become a significant place in the room. 

Initial- A.J.G. 3D Model

Initial Model: A.J.G
I created a model of my initials on Fusion360. I tried to cut out the interior but due to the shape of the letters it wouldn't let me. However I really liked the shape on the bottom so choose to leave it the way it was to allow the natural curve to be evident. I am really pleased with the final outcome. I think it is a very graceful product.


Monday, April 6, 2020

Week 7 Models


 Week 7 Models

 This week I had to really delve into how I can develop the lighting situation of my model and how to develop a threshold. I have been fairly limited in where I could go and how I could develop my part of the building as I live in collage accommodation where I have people on either side of my and above and below me. I choose to instead use the room next to mine as well and and designed the adjoining wall to be able to share light whilst provided the privacy that is expected for a bedroom. The meter of wall that runs alongside the wardrobe section is a semi-translucent meaning that the light that enters the room from outside has a greater opportunity to fill the room with light. I have also increased the length of the window meaning more of the exterior environment can be seen. I want my threshold to bridge the gap between inside and outside despite not being able to go outside. I want to be able to open the window and let the breeze and fresh air in and to have a view.
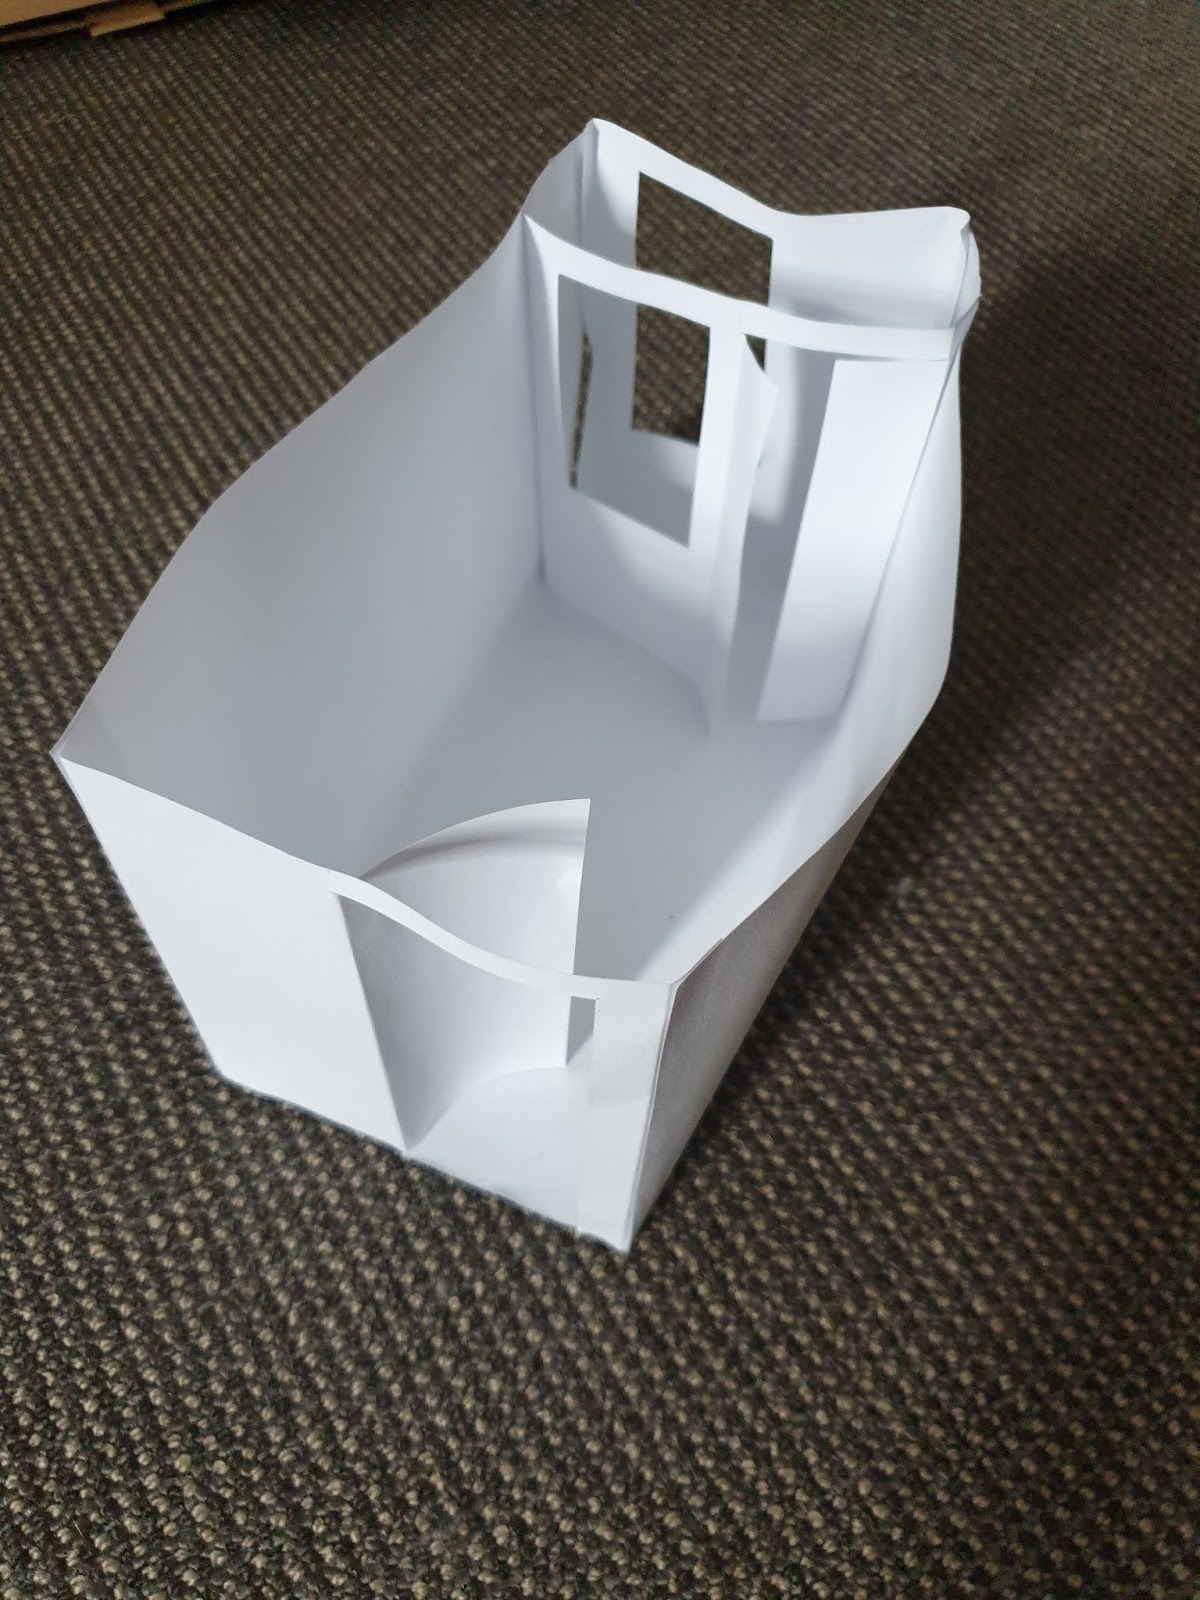
 I felt that the end result was effective with the light path being very broad when I photographed the model. Due to technical difficulties (my laptop died) I have been unable to have a figure within my models yet. However they are at 1:50 scale, with a 2.5m high ceiling with a door that is almost the same height.

Modeling with paper has had its challenges. At times it has been fairly difficult to get the paper to sit and hold where I want it to go. However, it is very easy to cut and score lines and can be very time efficient as I can photocopy my template before I cut it so I can have 2 identical versions (which when folded oppoaite ways creates mirrored rooms).

I also found experimenting with the light very interesting- it created some intriguing effects.


* Update: I was able to get a figure into my models after my technical difficulties were resolved. As you can see, the window is much larger than the person as it is floor to ceiling. I have chosen to make it this big as I believe the difference in how much light can enter would me extraordinary. I also felt that with the room itself being so small, a large window would help the atmosphere seem less confining.

Saturday, March 28, 2020

Week 6 Studio

Week 6 Studio
I choose to develop the window. I live on the 3rd floor of my building and have no balcony but I thought that I could still have a threshold to the outside through the design of the window. I've tried to provide privacy through the triangular windows with blinds (ideal the blinds that have both privacy and blockout layers) because this window would be common with the room next door.

I chose to have triangular windows because I thought they could provide an interesting aesthetic to the room. As show below, the window is the full size of the wall and divided into 3 triangles.

My Fusion360 model was also of my room- without any modifications. But to ensure I had 3 parts joined, I made it so that the three sections would be folded out of one sheet of paler- which caused some headaches when making the layout.


Saturday, March 21, 2020

Group Project Final Images


Week 5 Studio

Week 5 Sudio 

This was my first model of my workspace- it is my room in college so very simple. It is made out of paper at 1:20 scale, I have not included any furnishings that are not built in.
 This is my second model, this time it is out of thin cardboard at 1:50 scale. I found the stiff substance of the cardboard easier to work with, and the smaller scale felt stronger as well.
 This is my re-imagined room. I added a roof (imagining that I am on the top floor) and folding doors/ walls that can be opened up or closed to join a number of rooms together. (The girl in the room next me and I get on really well and it would be nice to study in our rooms together- but it would be useful to both have a desk (particularly as I need to be able to model) with walls like this, we would be able to open and close our rooms whenever we wanted to.
Because the main wall would be restricting where furniture went, I added a loft bed which would have room for a desk or storage to be under.

Monday, March 2, 2020